Homemade Reese’s Cups Recipe
Highlighted under: Oven Inspiration
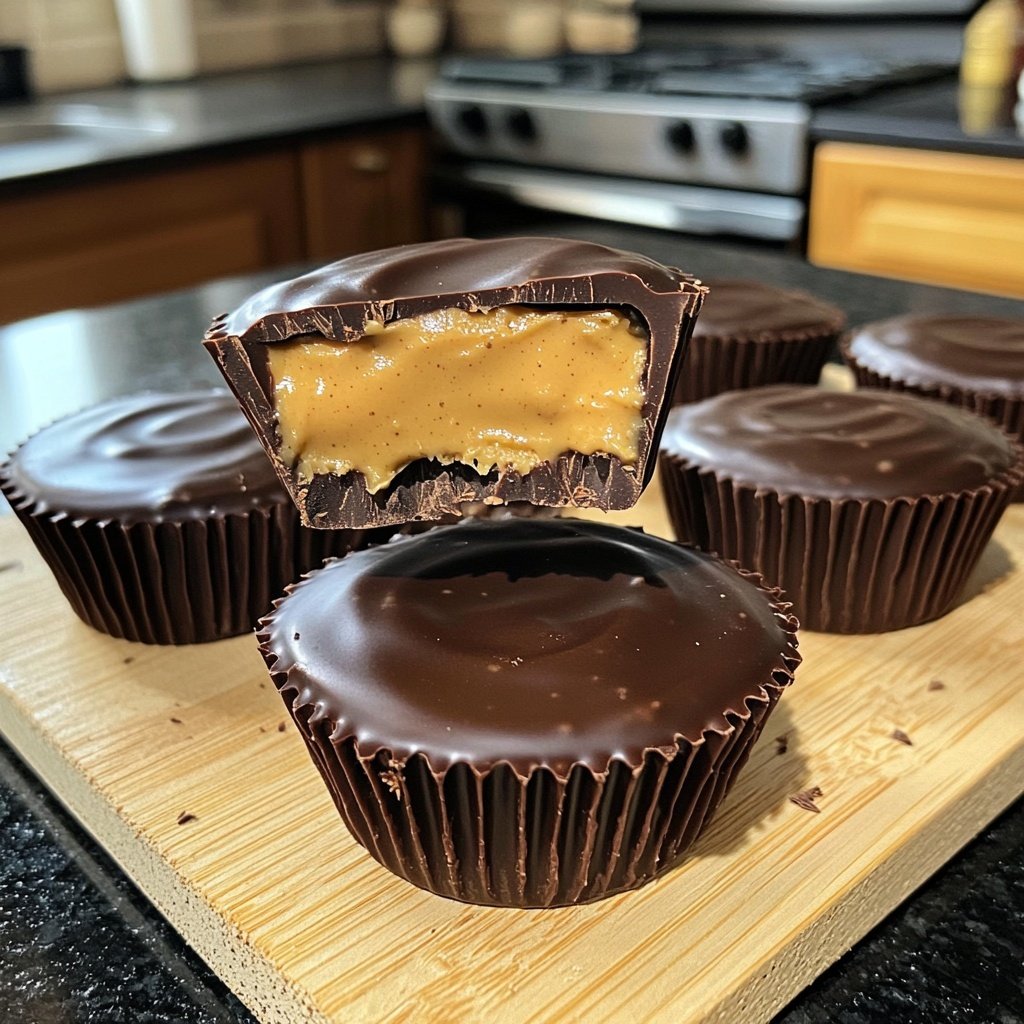
Indulge in the rich and creamy delight of homemade Reese’s Cups, a perfect treat for chocolate lovers.
Creating your own Reese’s Cups at home not only satisfies your sweet tooth but also allows you to customize the flavors. With just a few simple ingredients, you can whip up a batch that rivals the store-bought version.
Why You'll Love This Recipe
- Rich chocolate flavor paired with fresh peanut butter
- Creamy texture that melts in your mouth
- Perfect for celebrations or as a sweet indulgence
The Perfect Combination of Flavors
Homemade Reese’s Cups bring together two beloved flavors: rich chocolate and creamy peanut butter. The contrast between the smooth, sweet chocolate layer and the savory, nutty filling creates a delightful taste sensation. Each bite promises a burst of flavor that perfectly balances sweetness and saltiness, making these cups irresistible to all chocolate lovers.
Using quality ingredients is key to achieving the best flavor. Opt for high-quality milk chocolate chips and creamy peanut butter for that authentic taste. The addition of coconut oil not only enhances the chocolate's texture but also gives it a glossy finish that makes your homemade treats look as good as they taste.
Simple Steps for Homemade Delight
Making your own Reese’s Cups at home is easier than you might think! With just a few simple ingredients and a bit of preparation, you can whip up these delicious treats in no time. It’s a fun project to do with family or friends, making it a perfect activity for gatherings or special occasions.
The process involves melting chocolate, molding it into cups, and filling them with a creamy peanut butter mixture. The layering method ensures that every bite is packed with flavor, and the contrast in textures makes it an exciting treat to enjoy. Plus, there's something incredibly satisfying about creating a beloved candy from scratch.
Storage and Serving Suggestions
Once your homemade Reese’s Cups are set and ready to eat, it's important to know how to store them properly. Keep them in an airtight container in the refrigerator to maintain their freshness. They can last for up to two weeks, but we doubt they’ll stick around that long! If you want to enjoy them chilled, they can also be stored in the freezer for an even more refreshing treat.
These delicious cups make for an excellent dessert at parties or as a sweet snack during movie nights. Consider serving them on a platter with other homemade treats for a delightful dessert spread. You can even get creative by adding toppings like crushed nuts or drizzling with white chocolate for a gourmet touch.
Ingredients
For the Chocolate Layer
- 1 cup milk chocolate chips
- 2 tablespoons coconut oil
For the Peanut Butter Filling
- 1 cup creamy peanut butter
- 1/2 cup powdered sugar
- 1/2 teaspoon vanilla extract
Make sure to gather all ingredients before starting to ensure a smooth preparation process.
Instructions
Prepare the Chocolate Layer
In a microwave-safe bowl, combine the milk chocolate chips and coconut oil. Heat in 30-second intervals, stirring until smooth.
Mold the Chocolate
Spoon a layer of the melted chocolate into the bottom of each cup liner, making sure to coat the sides. Place in the freezer for about 10 minutes until set.
Make the Peanut Butter Filling
In a separate bowl, mix the peanut butter, powdered sugar, and vanilla extract until smooth and well combined.
Add the Peanut Butter Filling
Remove the chocolate cups from the freezer and add a generous amount of the peanut butter mixture on top of the set chocolate layer.
Top with More Chocolate
Pour the remaining melted chocolate over the peanut butter filling, ensuring it's fully covered. Return to the freezer for another 10 minutes to set.
Once set, enjoy your homemade Reese’s Cups straight from the liners!
Pro Tips
- For an extra touch, sprinkle sea salt on top of the chocolate before it sets for a sweet and salty flavor.
Frequently Asked Questions
What type of chocolate is best for this recipe? While milk chocolate is traditional for Reese’s Cups, you can also experiment with dark or even white chocolate for a unique twist. Each type of chocolate will bring a different flavor profile, so feel free to adjust based on your personal preference.
Can I use crunchy peanut butter instead? Absolutely! If you love a bit of texture, using crunchy peanut butter will add a delightful crunch to your homemade cups. This variation can enhance the overall experience, making each bite even more enjoyable.
Tips for Perfecting Your Cups
To ensure the chocolate layer is perfectly smooth, make sure not to overheat the chocolate chips in the microwave. Stirring at 30-second intervals will help avoid scorching, which can affect the flavor and texture of your chocolate.
If you're making these cups for a special occasion, consider personalizing them with different flavors. Add a pinch of sea salt on top for a sweet and salty combination, or mix in some mini chocolate chips into the peanut butter filling for added decadence.
Questions About Recipes
→ Can I use dark chocolate instead of milk chocolate?
Yes, dark chocolate can be used for a richer flavor.
→ How should I store these homemade Reese’s Cups?
Store them in an airtight container in the refrigerator for up to two weeks.
→ Can I make these vegan?
Yes, use dairy-free chocolate and a vegan-friendly peanut butter.
→ What can I use instead of powdered sugar?
You can use coconut flour or almond flour as a substitute, but the texture may vary.
Homemade Reese’s Cups Recipe
Created by: Kerensa Trelawney
Recipe Type: Oven Inspiration
Skill Level: Easy
Final Quantity: 12 cups
What You'll Need
For the Chocolate Layer
- 1 cup milk chocolate chips
- 2 tablespoons coconut oil
For the Peanut Butter Filling
- 1 cup creamy peanut butter
- 1/2 cup powdered sugar
- 1/2 teaspoon vanilla extract
How-To Steps
In a microwave-safe bowl, combine the milk chocolate chips and coconut oil. Heat in 30-second intervals, stirring until smooth.
Spoon a layer of the melted chocolate into the bottom of each cup liner, making sure to coat the sides. Place in the freezer for about 10 minutes until set.
In a separate bowl, mix the peanut butter, powdered sugar, and vanilla extract until smooth and well combined.
Remove the chocolate cups from the freezer and add a generous amount of the peanut butter mixture on top of the set chocolate layer.
Pour the remaining melted chocolate over the peanut butter filling, ensuring it's fully covered. Return to the freezer for another 10 minutes to set.
Extra Tips
- For an extra touch, sprinkle sea salt on top of the chocolate before it sets for a sweet and salty flavor.
Nutritional Breakdown (Per Serving)
- Calories: 380 kcal
- Total Fat: 26g
- Saturated Fat: 15g
- Cholesterol: 195mg
- Sodium: 85mg
- Total Carbohydrates: 32g
- Dietary Fiber: 3g
- Sugars: 24g
- Protein: 6g